How to set up auto-provisioning?
Learn how to set up user provisioning to manage users in your application.
Auto-provisioning in SchoolDay streamlines the process of provisioning and managing users within educational organizations (districts). By automating user provisioning, you can ensure seamless integration with SchoolDay without manual intervention. This guide outlines the steps for vendors to set up auto-provisioning in SchoolDay efficiently.
Caution:To use auto-provisioning, do NOT request first-time district access from your side. If you request access for a district (not vice versa), and that request is approved, your application will activate without auto-provisioning.
Before you begin
- Contact [email protected] and request this functionality.
- To retrieve roster data for auto-provisioning, you can use SchoolDay's Data API.
- To obtain credentials for Data API access, use the Partner API and specify the
districtGuidthat corresponds to the district undergoing automated provisioning.
Turn on auto-provisioning
To use auto-provisioning for your application, you need to set up the webhook settings and enable the feature. If auto-provisioning is turned off but you've added the webhook settings, those settings will still be saved for future use. Also, when you turn on auto-provisioning, the Auto-approve feature will also be turned on for your application automatically.
Once the auto-provisioning was activated by SchoolDay Support for your instance, do the following:
-
Sign in to SchoolDay.
-
Choose an application to manage user provisioning for this specific app.
-
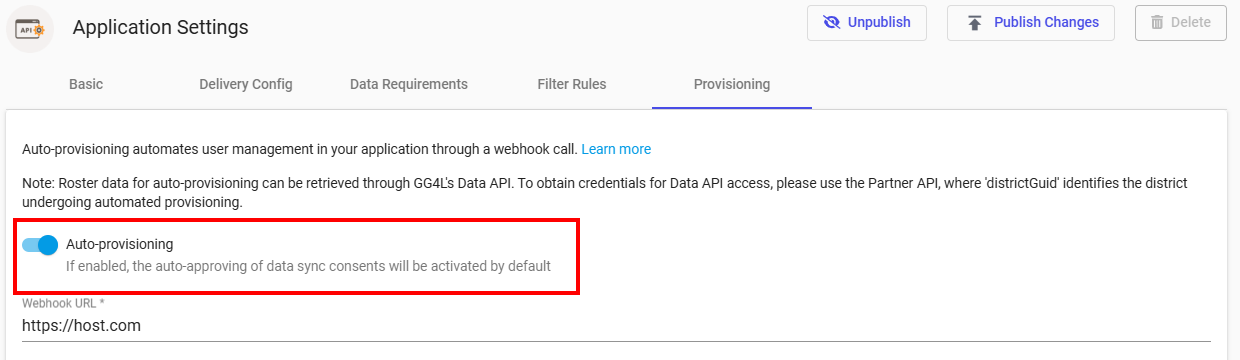
Browse to Application Settings > Provisioning.
-
Turn on the Auto-provisioning toggle to activate the auto-provisioning feature for your application.
-
Configure webhook settings:
- Webhook URL: Provide a custom URL to which you want to send
POSTrequest from SchoolDay. For example,https://application-host.com/webhook. - Header Name and Header Value: Configure custom headers by adding additional key-value data. You can add multiple key-value sets, and you can delete the ones you added by clicking on the trash icon.
- Add Header: Click and provide additional custom headers.
- Success Redirect URL: Provide a custom URL to which you want to direct users after a successful webhook event.
- Button: Enter the name of the button that will call your webhook. This button will replace the default one.
- Webhook URL: Provide a custom URL to which you want to send
-
(Optional) Test webhook.
-
(Optional) Create a promotional banner.
-
Click Save.
When you enable auto-provisioning, the auto-approve will be automatically activated for your application.
Test your webhook
Once the webhook is set up, we recommend you test if your application is set up correctly using the test functionality. Otherwise, you may not receive the data in your system.
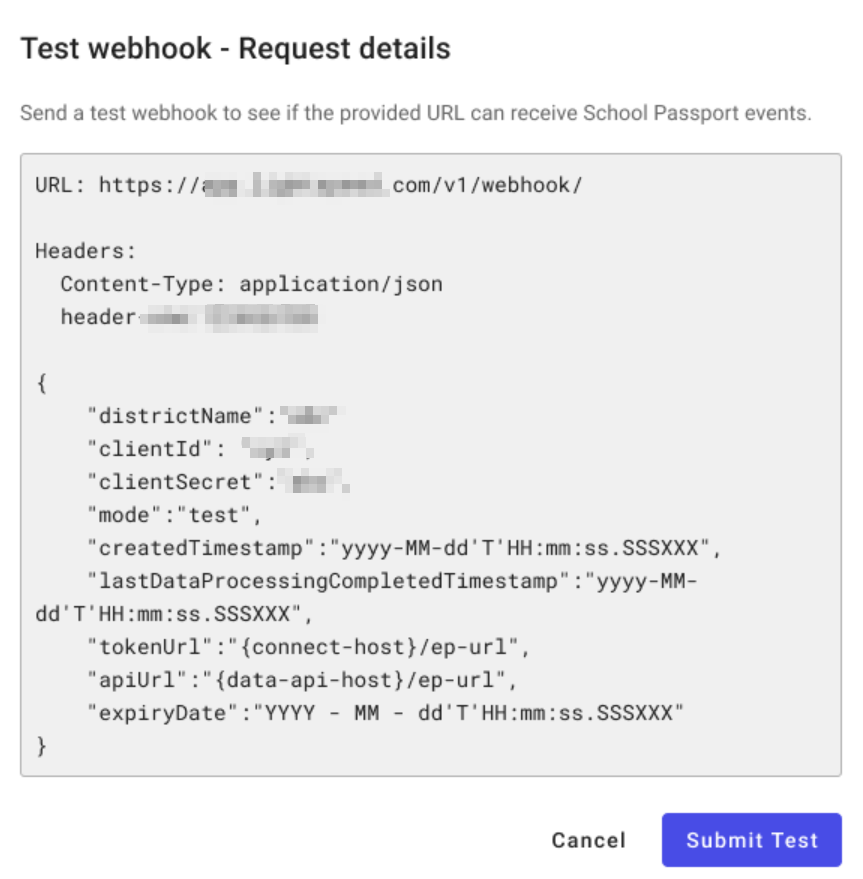
From the Application Settings > Provisioning tab, click Test Webhook under the header fields. On the Test Webhook window, you can review the full content of the sample HTTP request of SchoolDay request that will be sent to your target webhook. Click Submit Test to continue.
Note:Each request contains
modeparameter, which defines a behavior of processing the request. The following values are available:
test: A special mode that used only for conducting tests. Test mode requests have no impact on the production environment.trial: Uses for conducting trials or special offers. A trial request is created only when application is activated via the promo button.standard: Uses for a regular operational state. A standard request is created when district activates an application via the Auto-provisioning button.
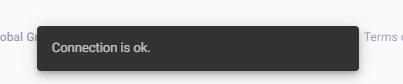
Once the sample webhook request is sent to your configured webhook endpoint, a result is displayed. If the request was received successfully and the HTML response status code from your system was 200, you will see a success message: