Filter Rules
Discover how to filter out your data so the data doesn't appear in the application.
The Filter Rules are used to manage data sharing. These rules allow you to configure what data will be made available to applications, and to define what data will be imported in SchoolDay. To simplify the filtering process, use ready-made filters that contain additional attributes for more accurate filtering.
TipIf you are setting up Filter Rules for the first time, feel free to contact [email protected] for assistance.
Overview
Filter Rules enable effective data sharing management by limiting access to specific data. For example, when integrating an Export application with your district, it is often unnecessary for them to have access to the entire dataset, and limited data access is sufficient. Also in some cases, filtering data instead of importing the entire dataset can improve the speed of importing into SchoolDay.
Filter Rules allow permissive access. This means that all data that meet the specified conditions will be imported into SchoolDay. For example, if you create a filter for students and set the condition that all grades must be non-empty, only grades that match that condition will be imported. Students with blank grades will be skipped.
NoteYou cannot configure filters to exclude data.
Filtering conditions
There are the following conditions are available in SchoolDay.
| Condition | Description |
|---|---|
| contains text | Selects values that are equal to the specified text. |
| does not contain text | Selects values that do not equal the specified text. |
| is empty | Selects values that are empty. |
| is not empty | Selects values that do not be empty. |
| after | Selects dates that occur after the specified reference date. |
| before | Selects dates that occur before the specified reference date. |
| equals | Selects dates that match the specified reference date exactly. |
| is future | Selects dates that are in the future in regard to the specified date. |
| is past | Selects dates that are in the past in regard to the specified date. |
| is true | Selects values that are true. |
| is false | Selects values that are false. |
Create a filter rule for Import application
-
From the Home page, select an Import app you want to apply filtering.
-
Go to the Filter Rules and click Add Filter Rule. Alternatively, click Settings > Filter Rule > Add Filter Rule.
-
Select an entity you want to apply the filter rule.
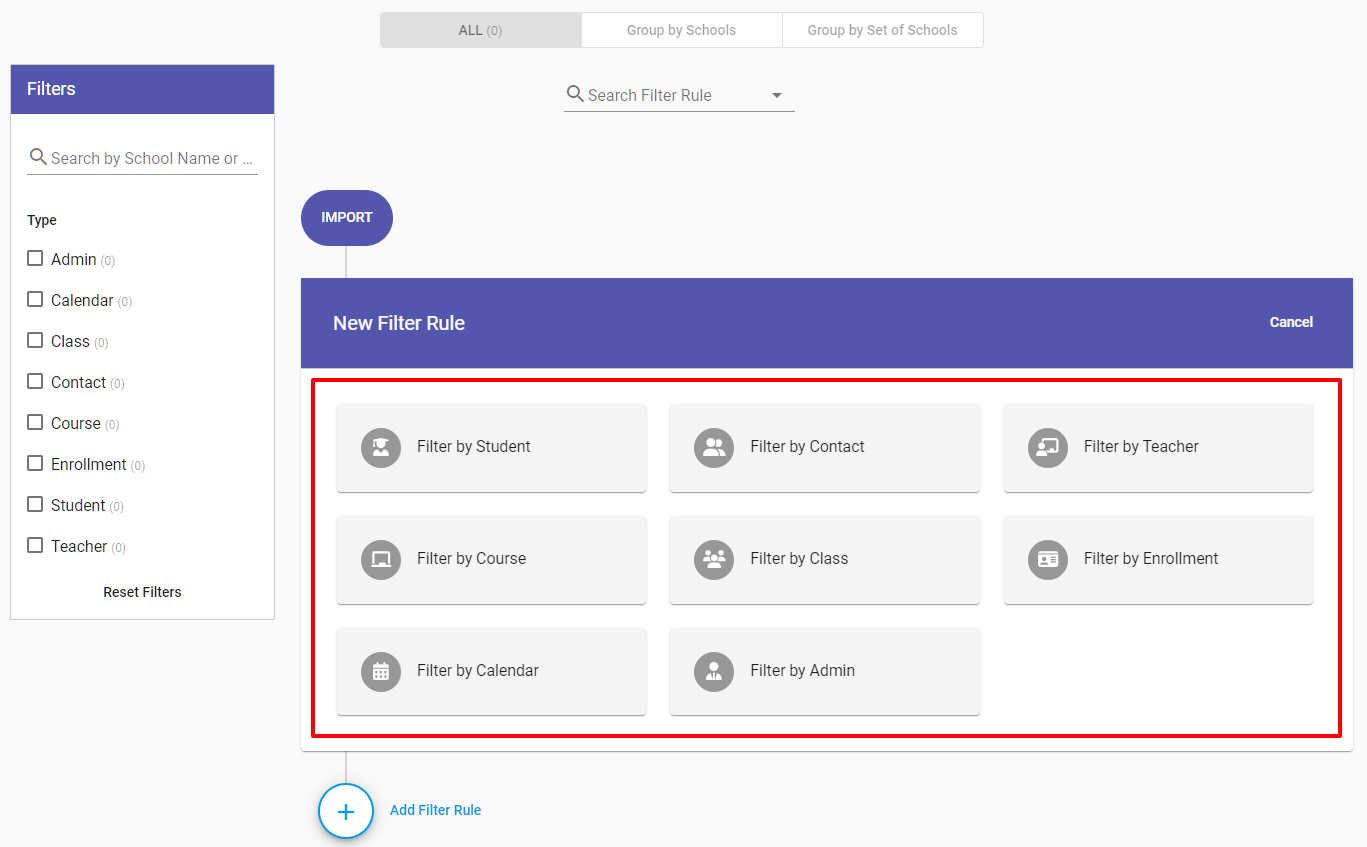
Choose an entity for filtering
- Choose a predefined filter or create a custom one.
- Choose an attribute and its condition, and then enter a value for the attribute.
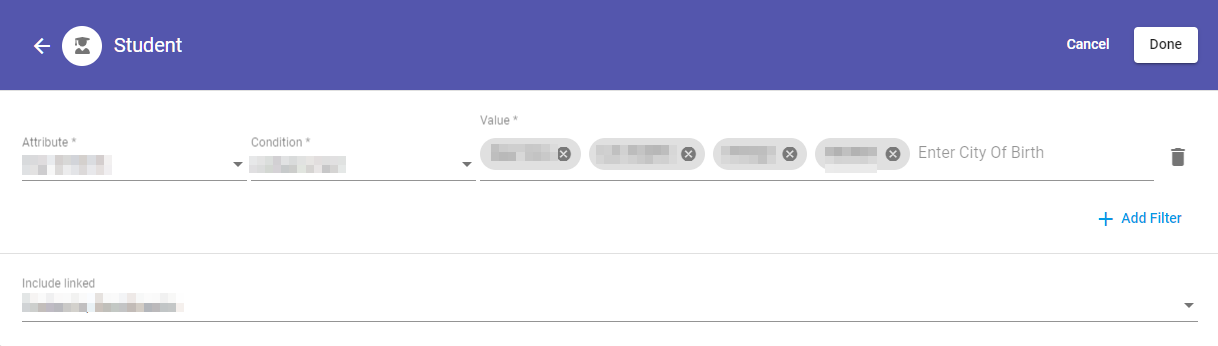
Enter filter values
- (If ready-made filter chosen) From the Include Linked, select entities that will be filtered along with the entity for which the filtering rule is configured. For ready-made filters, this field is preconfigured.
- (Optional) Click Add Filter to set multiple conditions for a filter. These conditions are AND conditions.
- Click Done.
- (Optional) Click Add Filter Rule to set multiple filter rules. These conditions are OR conditions.
- Click Save.
Create a filter rule for Export (Vendor) application
To apply filtering with the Export app, you can send data-sharing request with the required filter rules. Alternatively, you can configure filters directly on the application dashboard as follows:
-
From the Home page, select an Export app you want to apply filtering.
-
Go to the Filter Rules and click Add Filter Rule. Alternatively, click Settings > Add Filter Rule.
-
Select an entity you want to apply the filter rule.
-
Choose an attribute and its condition, and then enter a value for the attribute.
-
(If ready-made filter chosen) From the Include Linked, select entities that will be filtered along with the entity for which the filtering rule is configured. For ready-made filters, this field is preconfigured.
-
(Optional) Click Add Filter to set multiple conditions for a filter. These conditions are AND conditions.
-
Click Done.
-
(Optional) Click Add Filter Rule to set multiple filter rules. These conditions are OR conditions.
-
Click Save.
Format or delete filter rules
-
From the app dashboard, go to the Filter Rules and click Edit Filter Rules.
-
Click Edit Filter and make changes.
-
Click Delete Filter for the filter rule you want to remove.
-
Once finished, click Save.
Updated about 1 year ago